Research


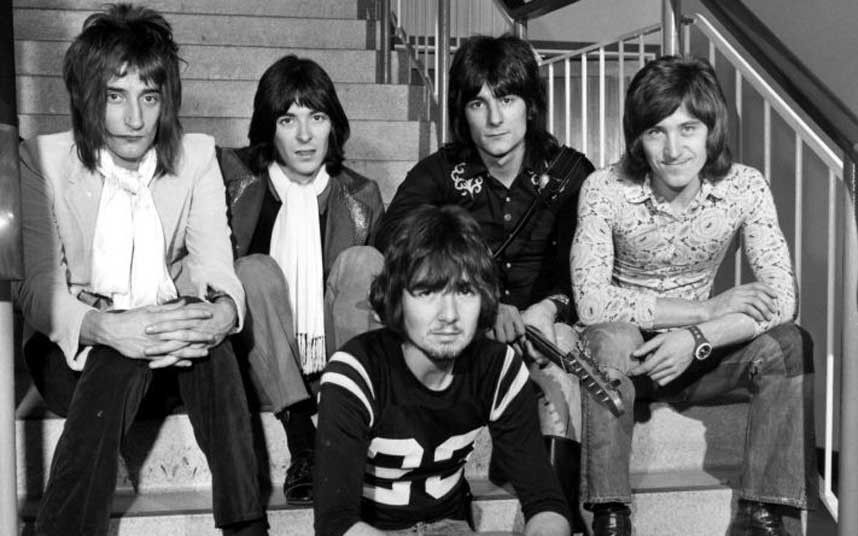
Own Images
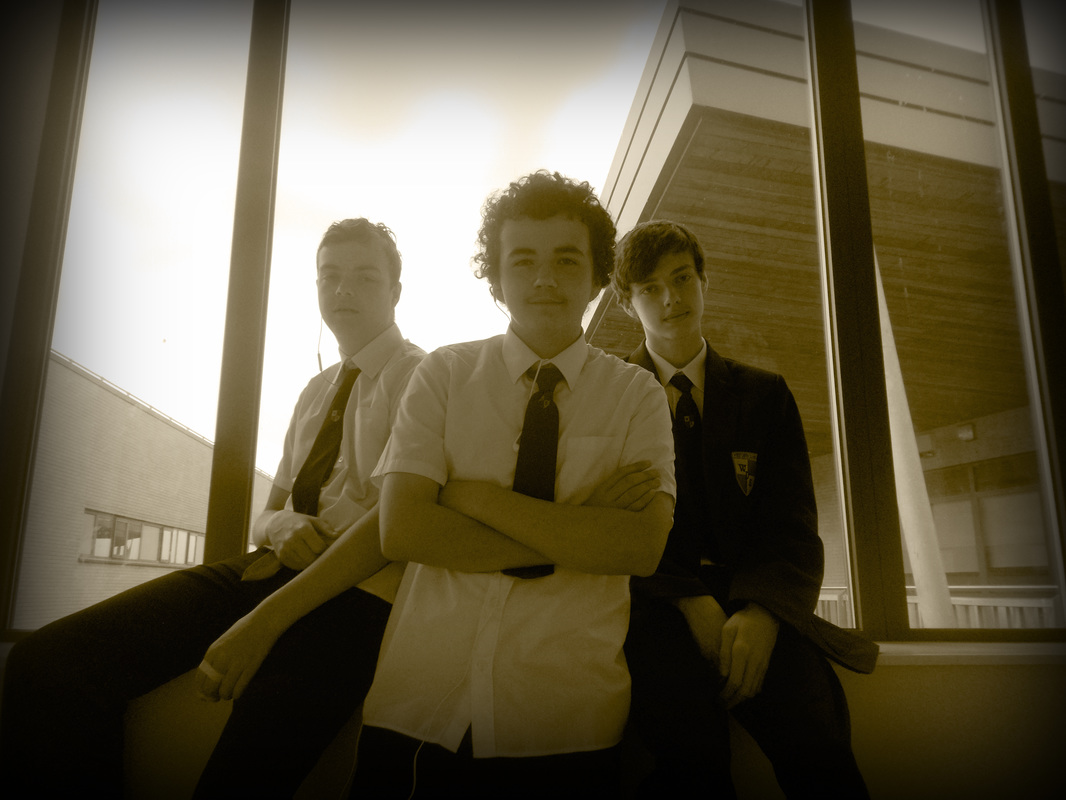
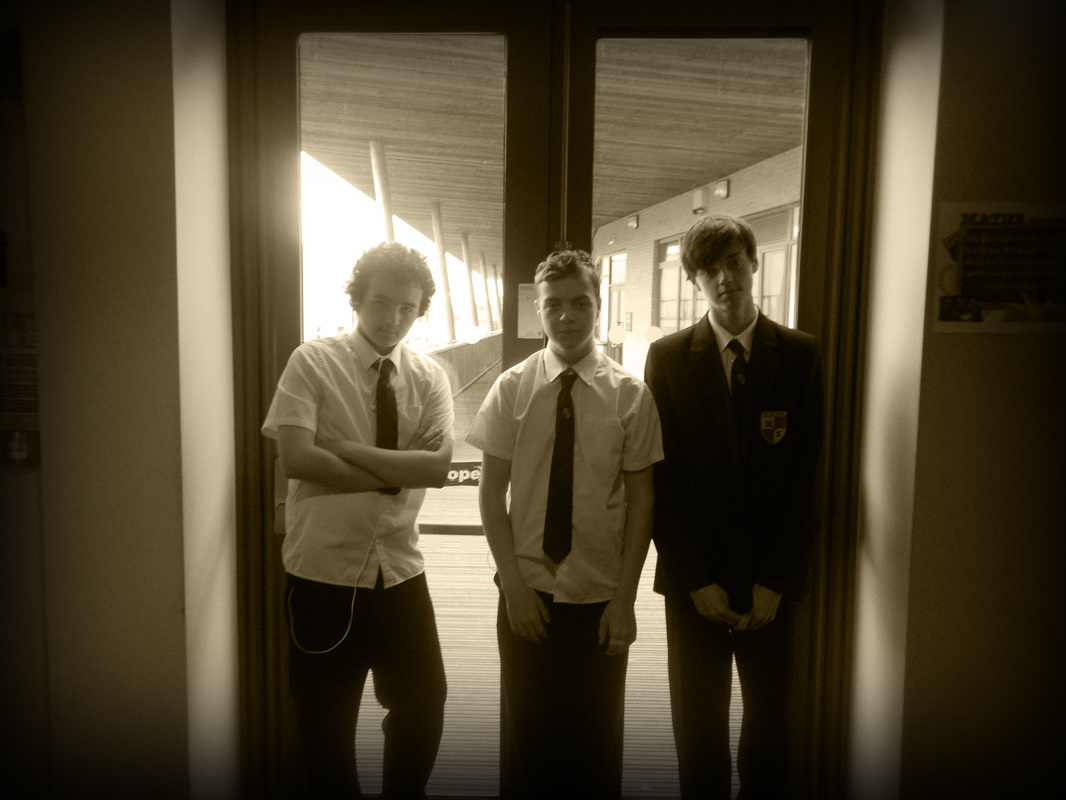
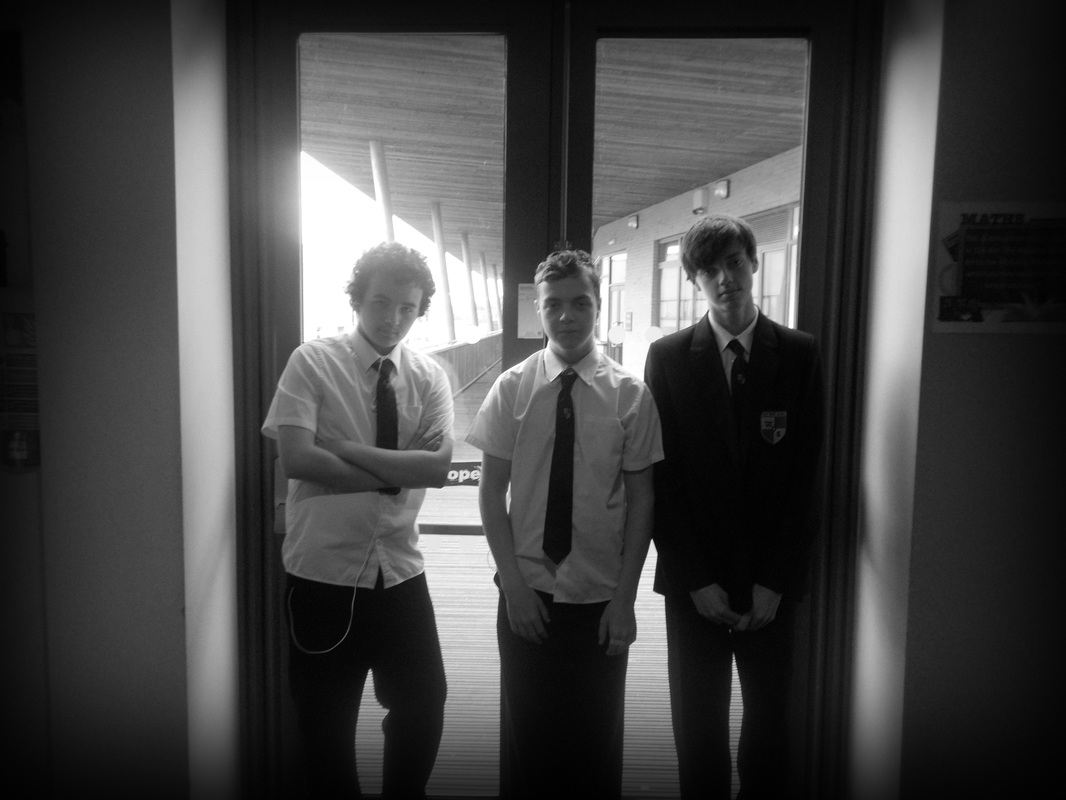
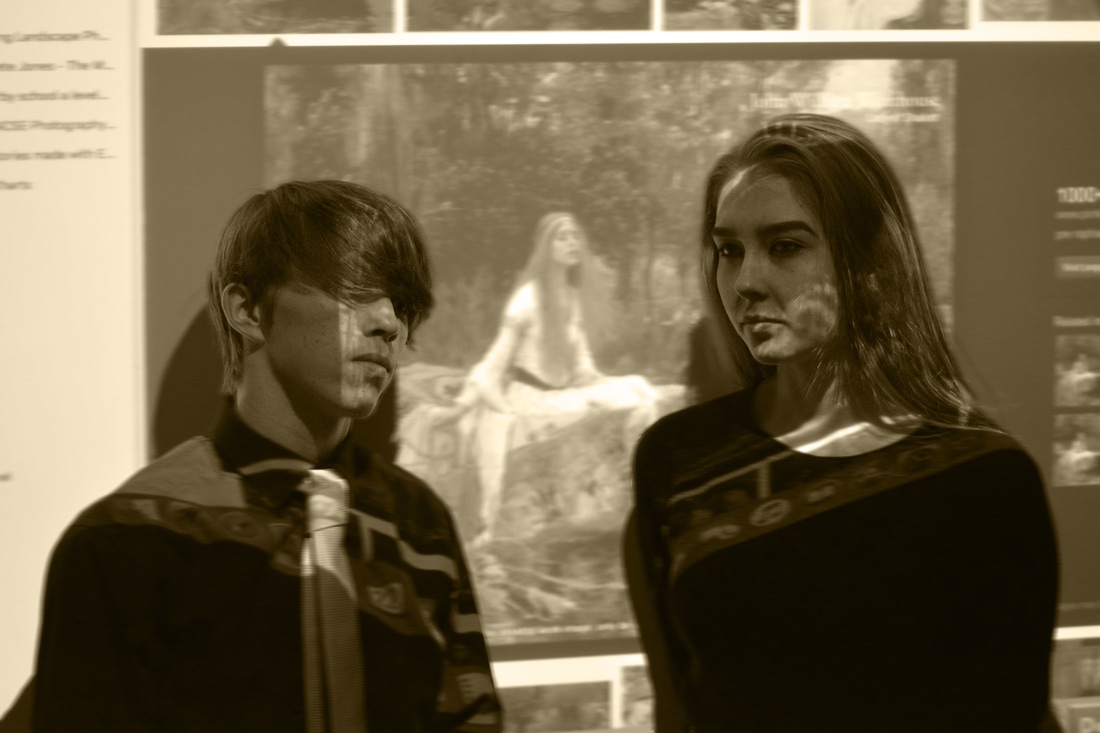
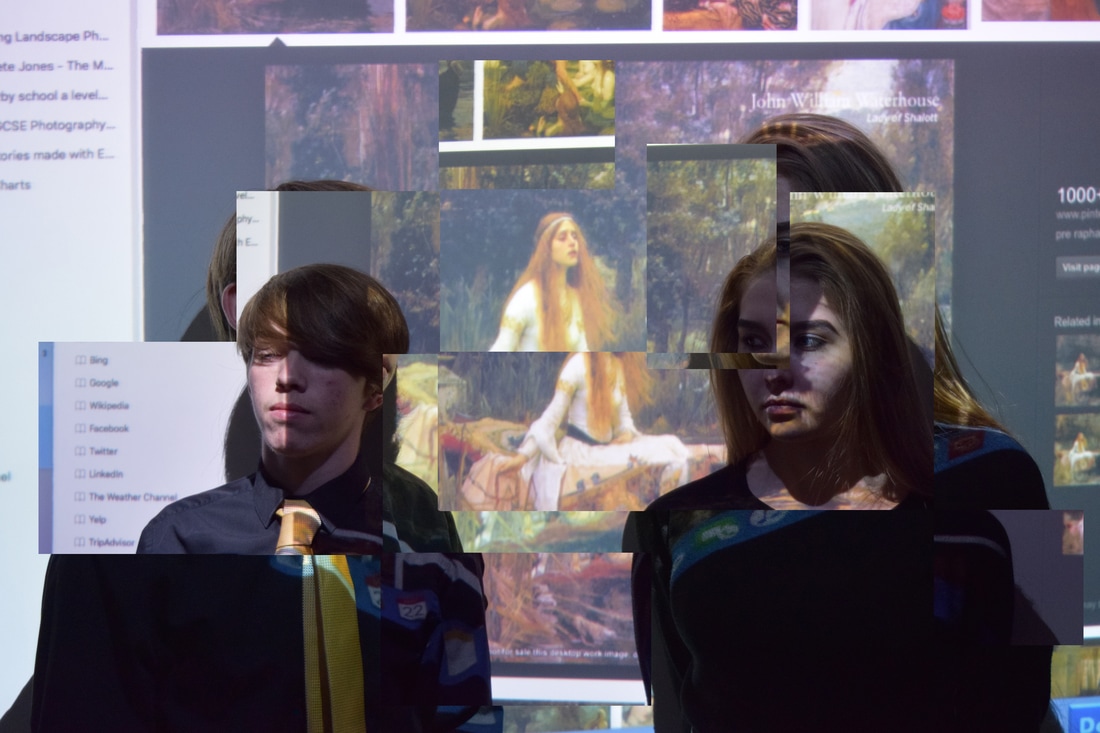
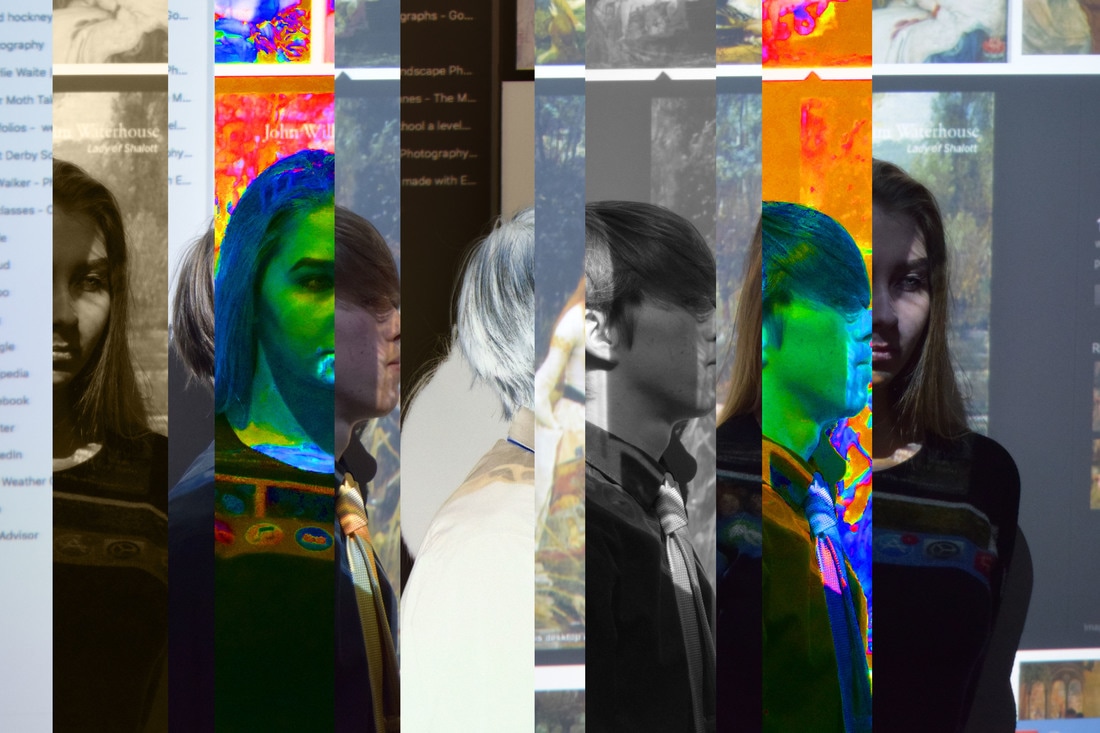
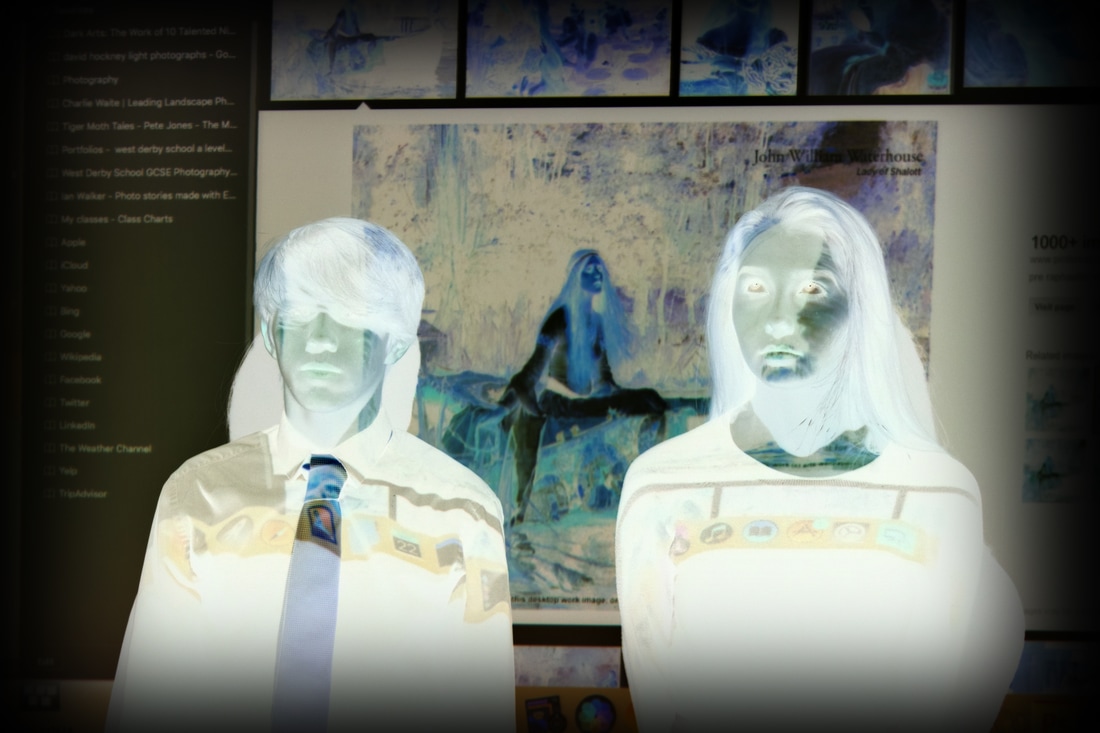
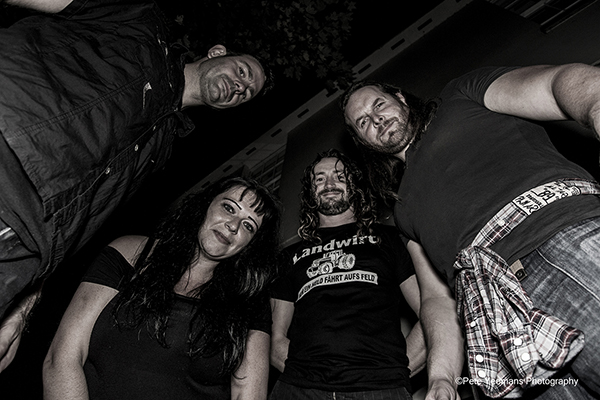
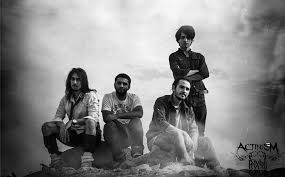
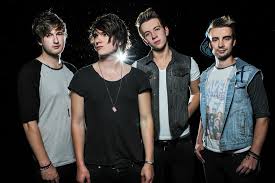
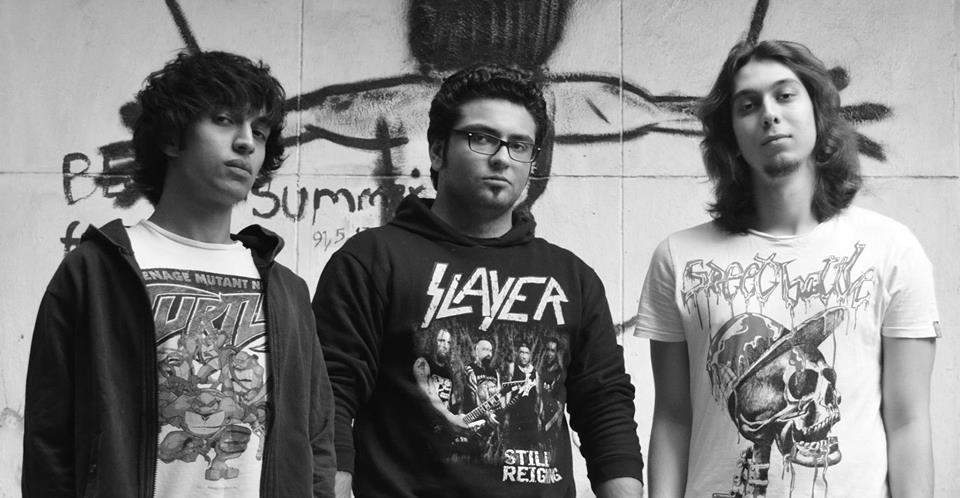
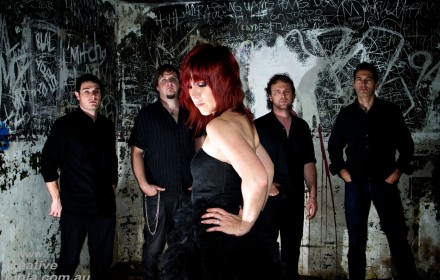
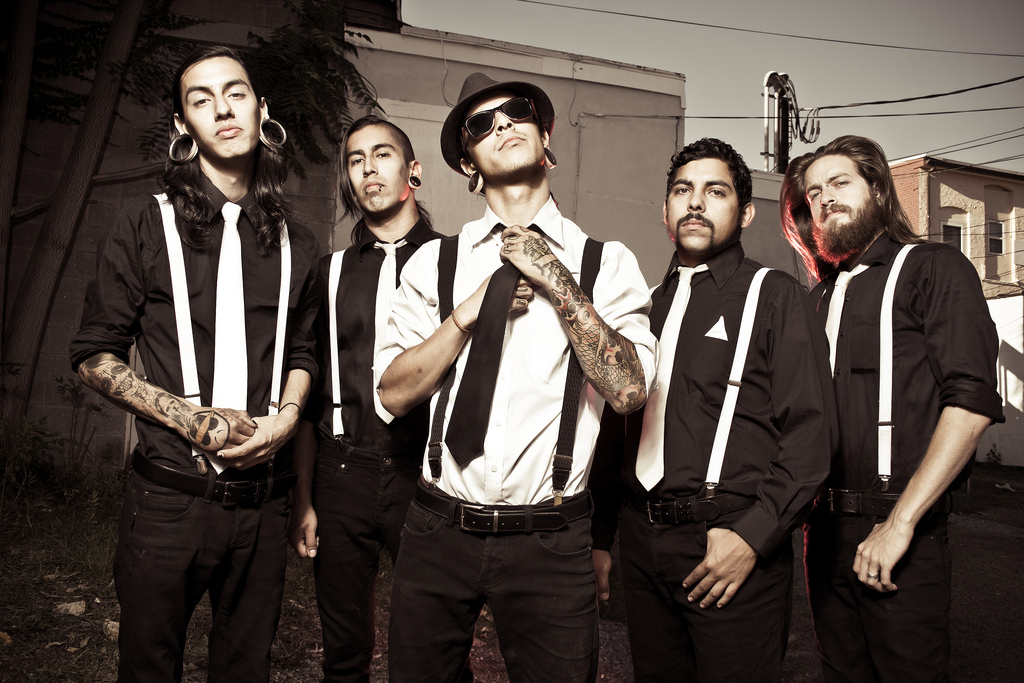
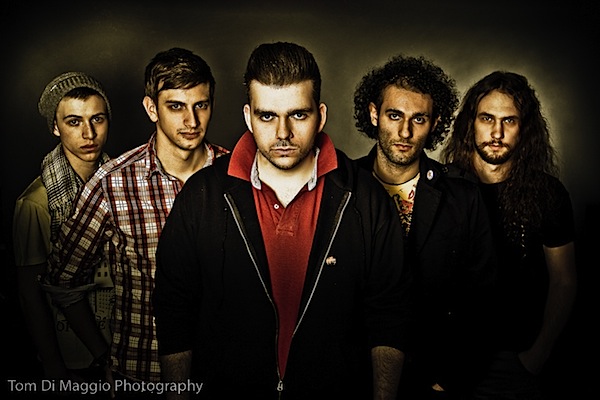
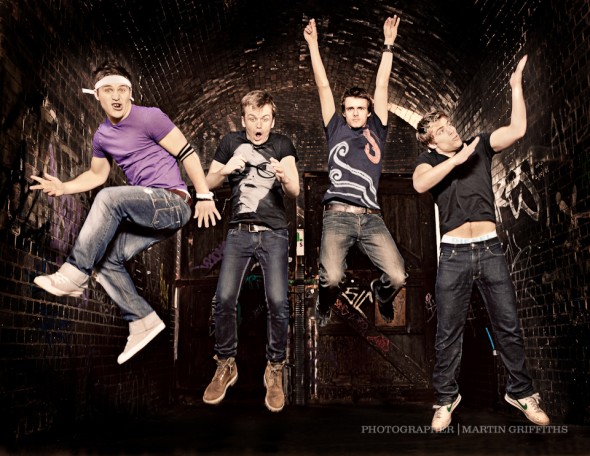
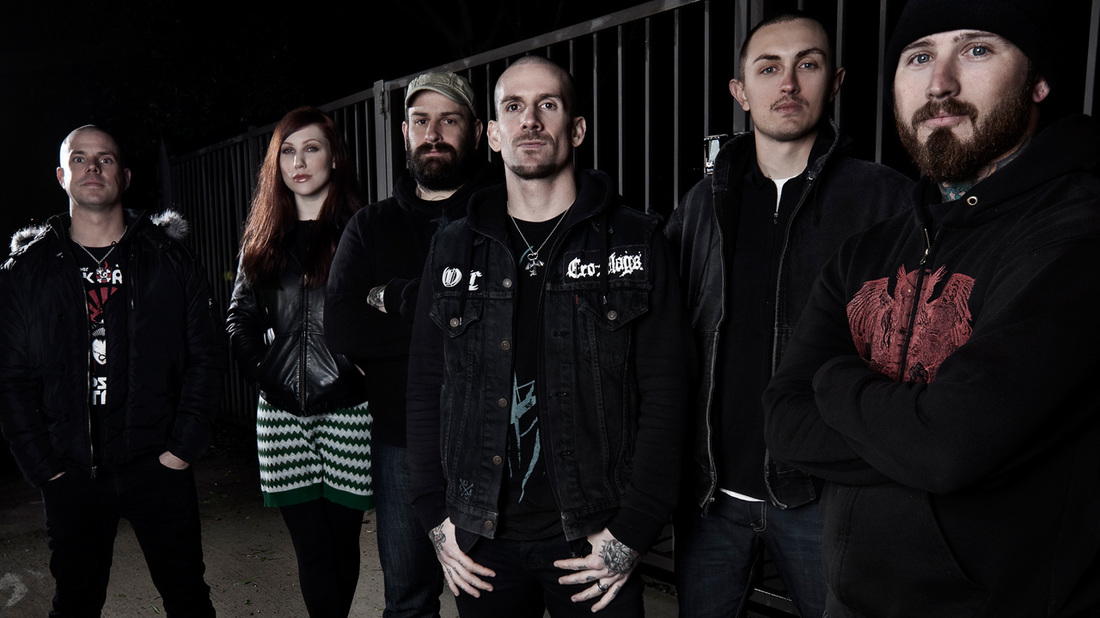
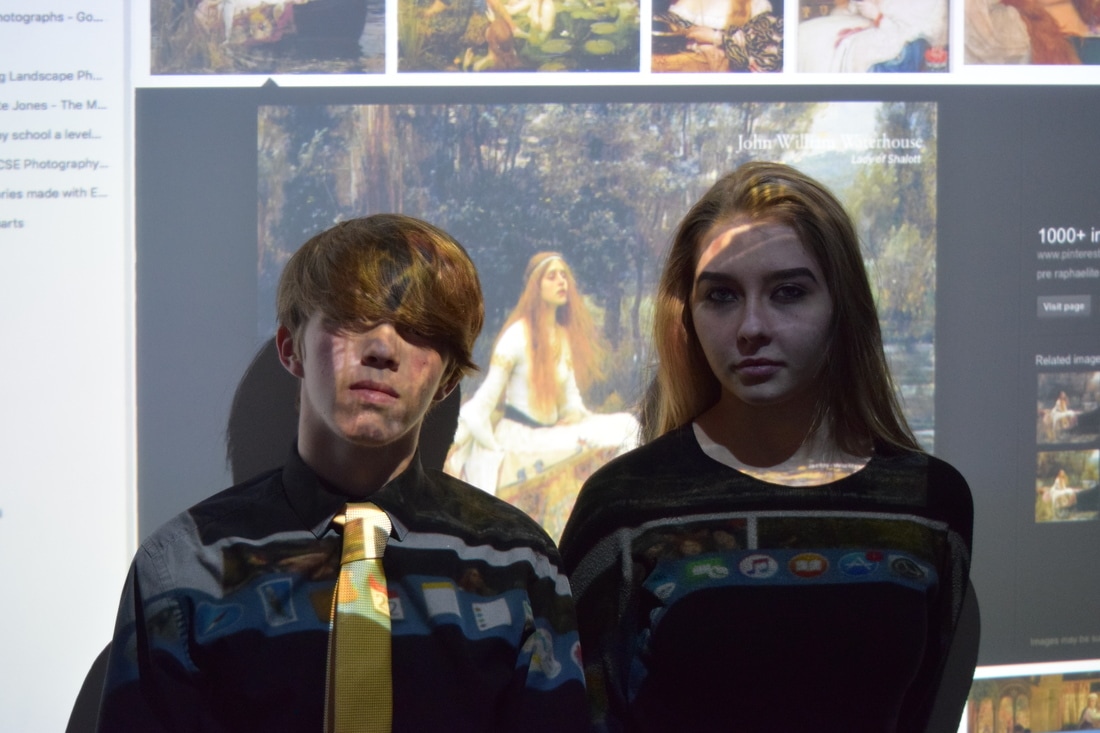
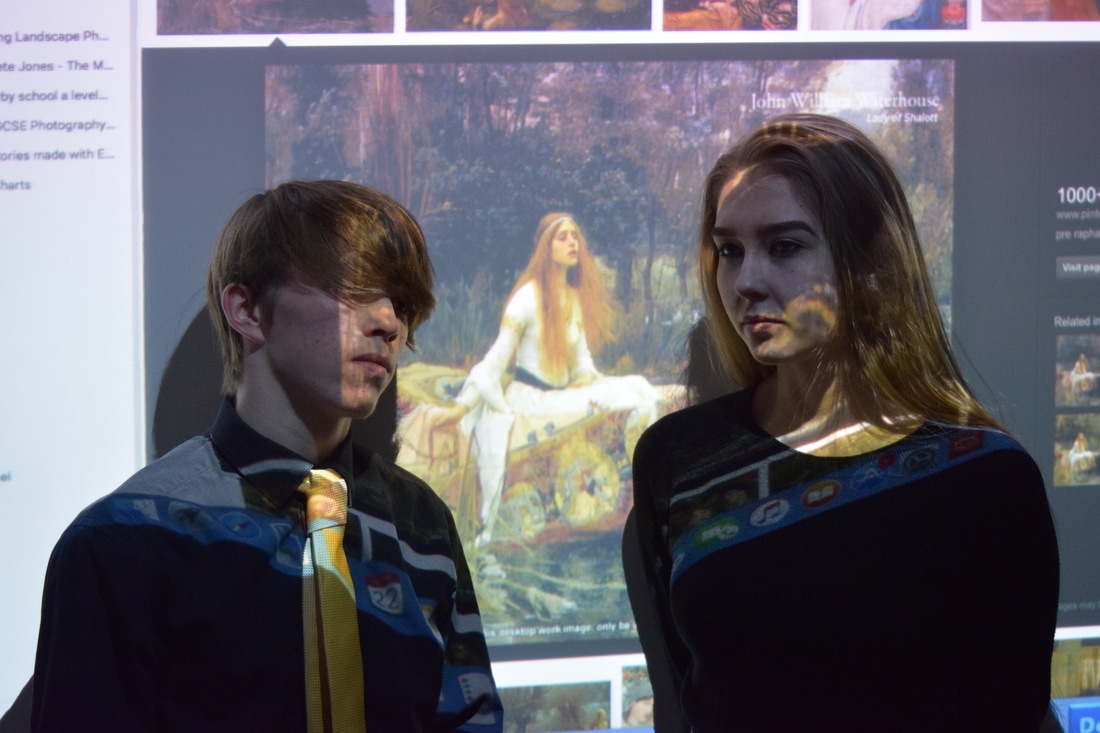
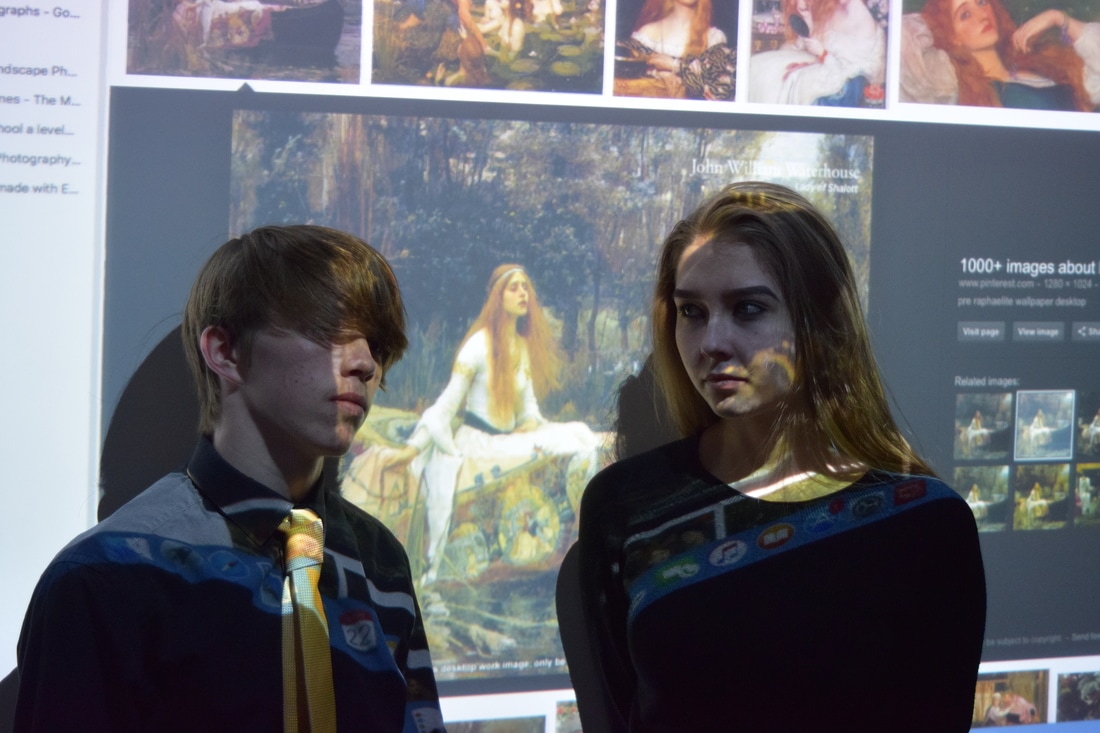
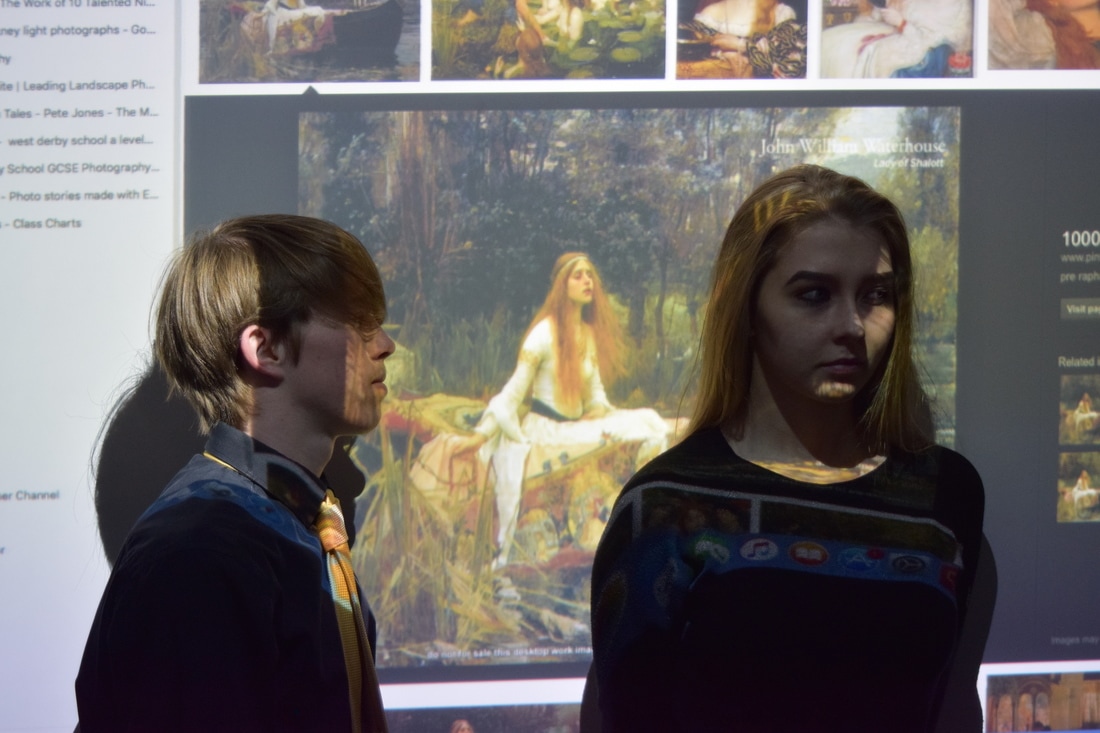
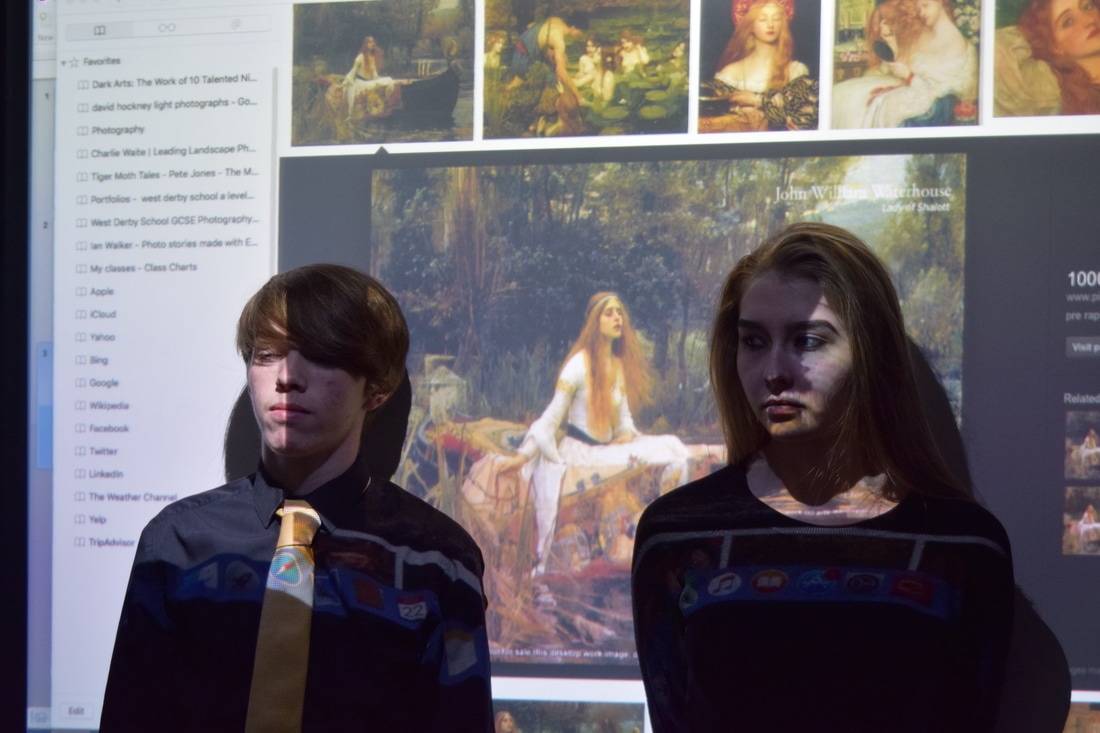
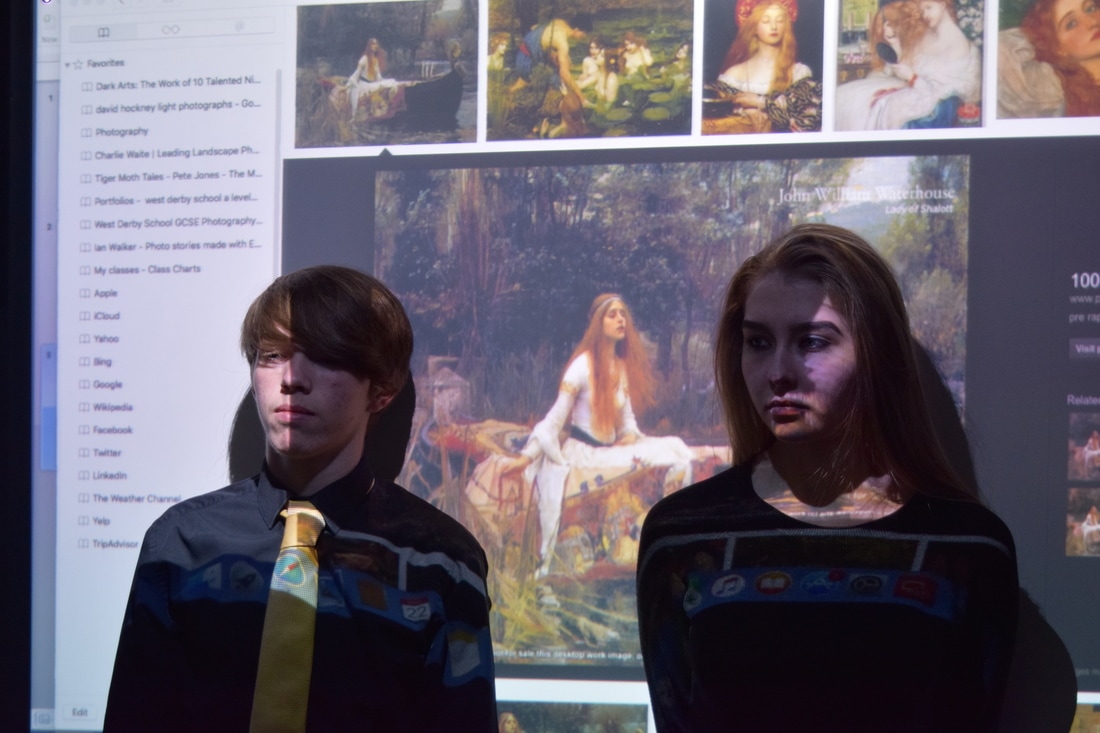
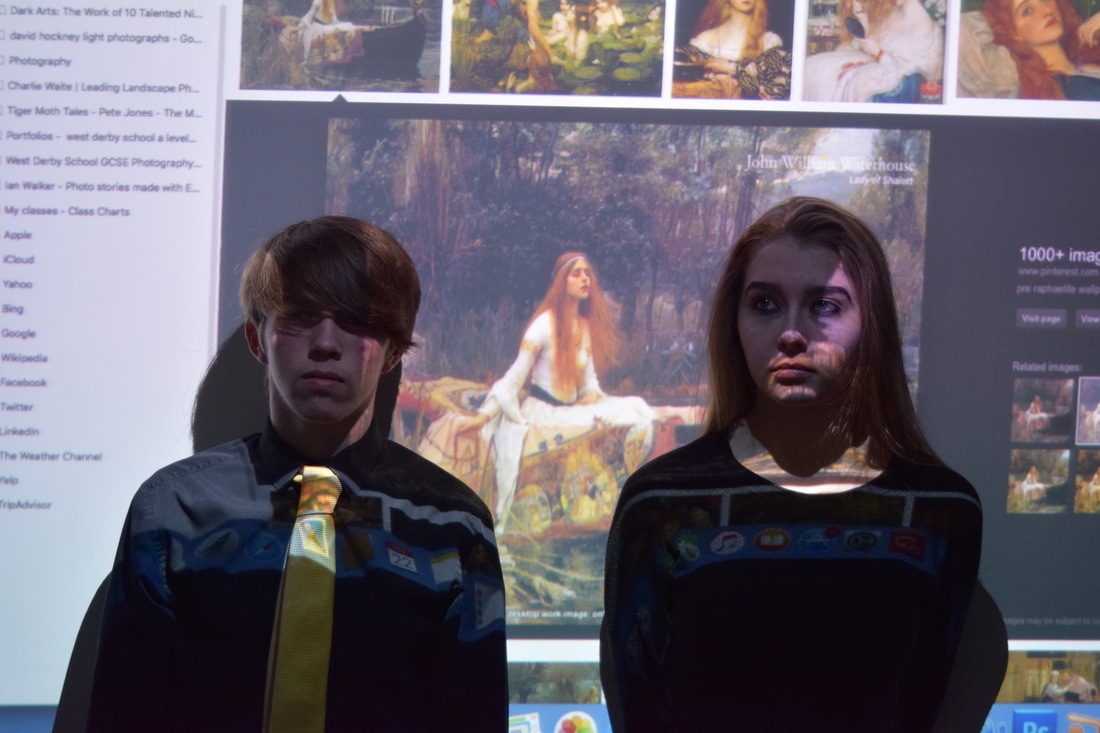
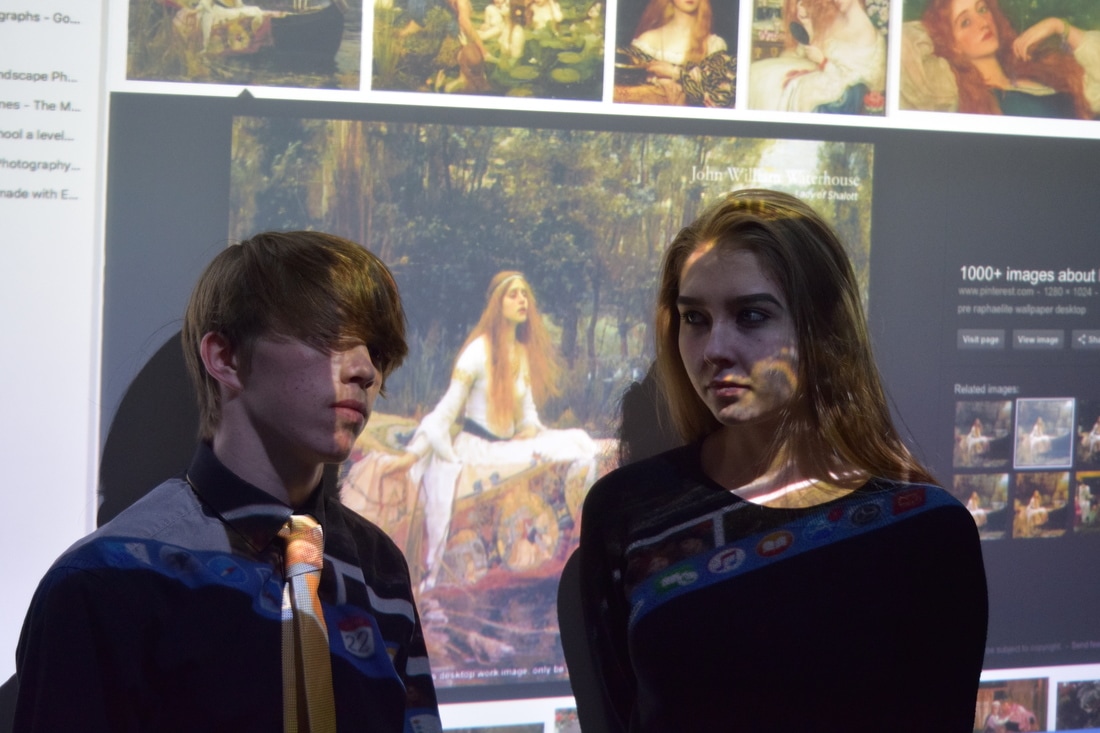
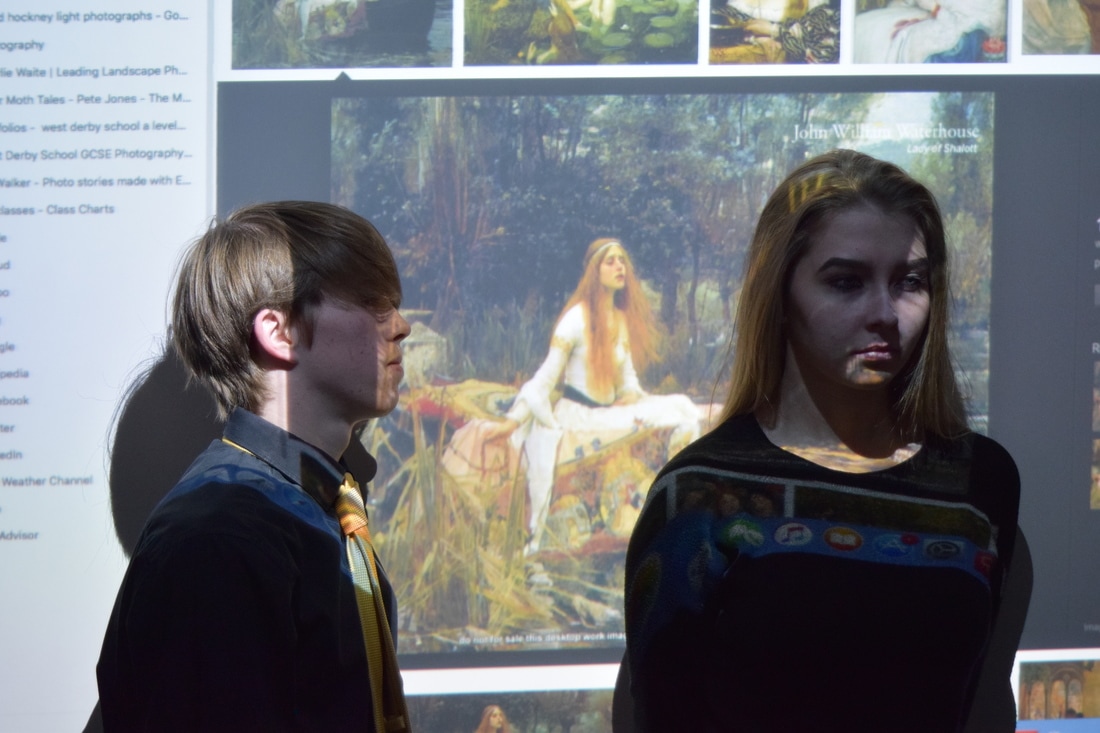
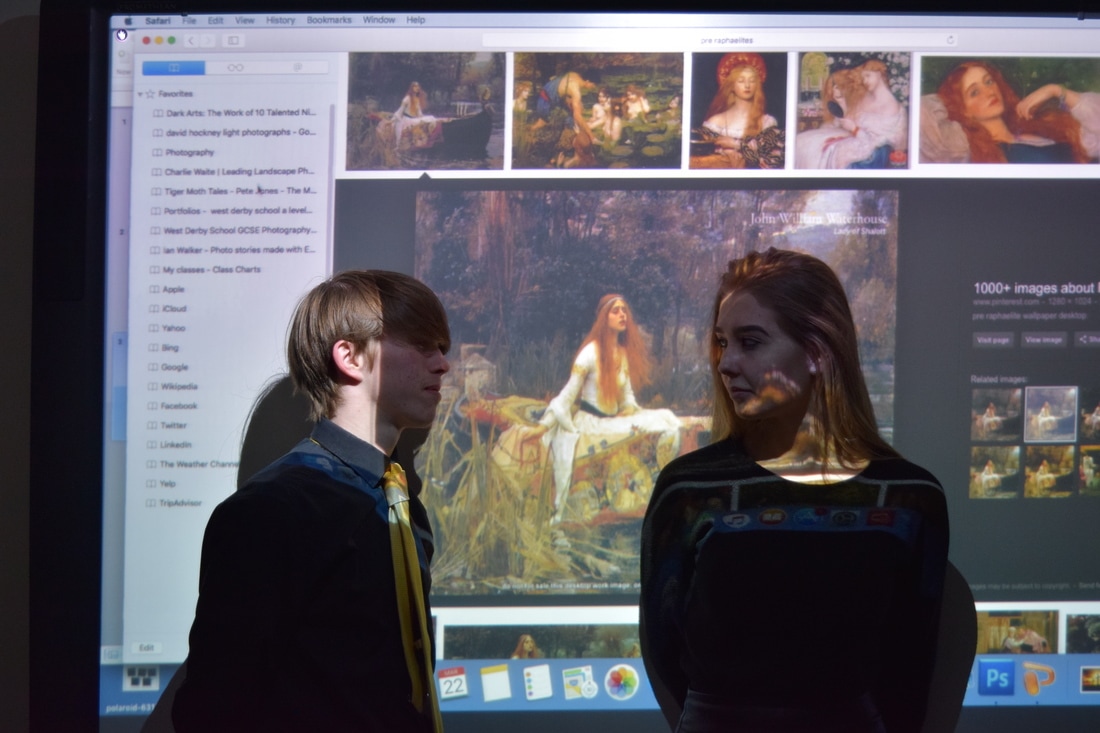
These are the images my group done and i've uploaded it on to my computer to photoshop them. As you can see in these images, i've changed the background and the lighting. I've made the some of the images black and white and the other ones, i've added a tint to change the black and white to look like it's the western times.
How To Do It Yourself On Apple Mac
Needed steps
Get a group of people (3,4,5) and get them to do a pose.
Photograph them and then do another pose.
Steps 1 - 21
Get a group of people (3,4,5) and get them to do a pose.
Photograph them and then do another pose.
Steps 1 - 21
- First you'll need an image you what to work with.
- You then want to upload it from your "camera" to your computer (Mac).
- You want to save it into a folder so you know where you have saved it.
- Then you want to open "Photoshop" and then find the folder you saved the image in.
- Open the image in "Photoshop".
- If the people in the image are to far from the image you can crop it to make them fit in.
- Click the "Levels" adjustment and change the lighting to want you want.
- Once you are finished with the lighting, click the "black and white" adjustment.
- There is a box which is the "tint". This makes the image look like the western times.
- So after that you will want to press "Shift F5" or click "edit".
- Once you click "edit" you'll want to find fill. Once you have done that make sure the contents is black and the opacity is 100%.
- After you have done that, put a box to the top corner.
- Then click "mask icon" to mask the image.
- Once you have done this, you'll want to press "CMD I" to unmask your image.
- The black box which was in the way of the people who are in the image will be moved to the edges of the image.
- Once the box has been pushed to the edges, you'll want to click on the "masks".
- After you have done that, there will be two triangles. One is "Density" and the other "Feather".
- "Density" should be 100%. If not, change it to 100%.
- Once you have changed to 100% on density, you'll want to put 100% on feather.
- Then you want to click on "File", "Save As". To keep the layers to use on other images, save it as "PSD".
- Then save it again as a "JPG" and you have finished the image.
6th Form Photos


Edited Photographs